5 Steps to Install a Toilet
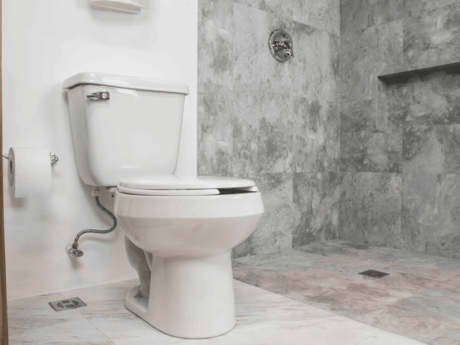
1. In case of replacement: Remove the current Toilet
Turn off the valve that feeds your Toilet Tank, unload it until empty, and unscrew the connector from the faucet to the tank.
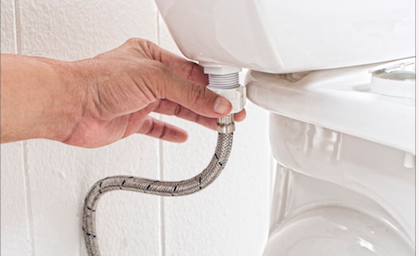
Remove the nuts that secure the Toilet to the floor and remove any residue of material that may interfere with the reinstallation.
2. Install your new Toilet and align your discharge with the drain pipe
For correct alignment, we recommend measuring the distance between the wall and the center of the drainage pipe. This will help you to know if there is a gap that needs correcting.
The distance between the wall and the center of the drain pipe, according to official standards, should be 30 cm (12 inches); If in measuring you discover that you do not comply with this measure will correct the lag.
To ensure a correct seal between the Toilet and the drain pipe, you can choose between these materials: wax neck, Coflex Flexible Toilet Seal and Coflex Flexible Toilet Flange, the latter option will help you to correct the mismatches. (Read the entry Do you need to install a Toilet? To know more about these materials).
When you finish, we recommend fixing your installation by applying anti-fungal silicone around the Toilet.
3. Install the Toilet tank and its fittings
It is important to know if your Toilet is one or two pieces, since its installation varies, as well as the type of fittings that you will use.
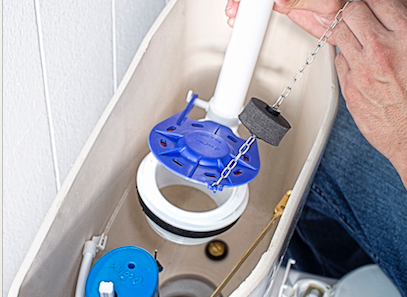
The necessary hardware is:
- Valve of Admission, that will provide water to the tank of Toilet.
- Flush Valve, whether traditional or dual, is responsible for dislodging the water. Read the entry How to choose a Flush Valve for your Toilet, to know the benefits of each model.)
- Crank or Discharge Button. If you choose dual discharge valves, it is likely that they already include the discharge button.
For two piece Toilets, in addition, you will have to consider:
- Tank-cup screws, which will allow you to fix both pieces.
- Pack tank-cup, which will prevent water leaks between the two pieces.
4. Let the water flow
Once the Toilet has been assembled and the hardware installed, you will have to connect the water supply, so you will need a valve and a Flexible Toilet Connector.
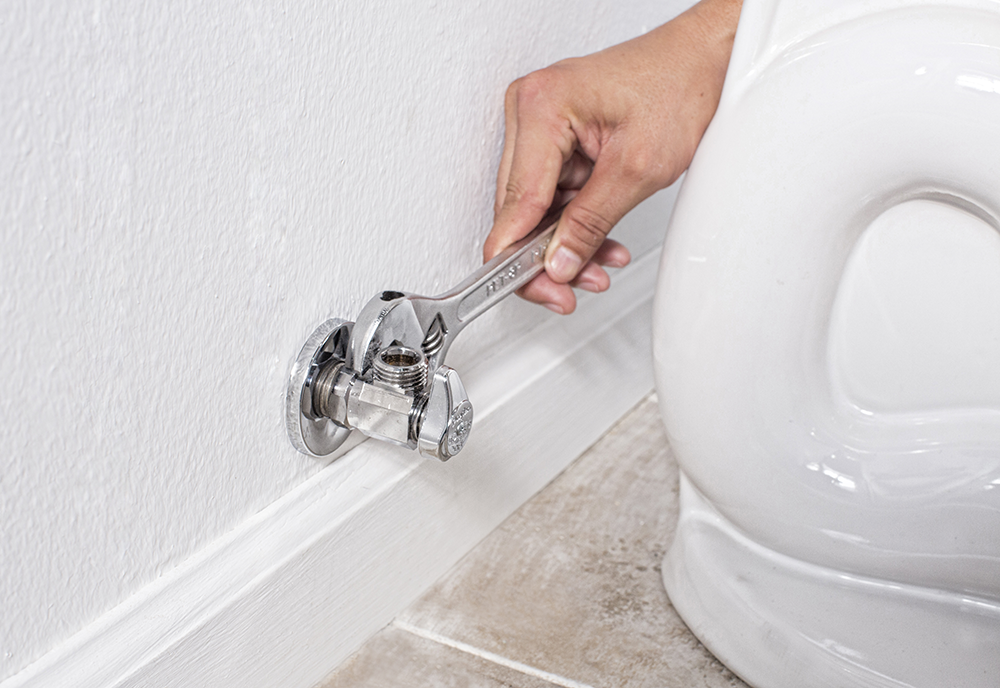
Once the valve has been installed to the water pipe on the wall, install your Coflex Flexible Connector to the intake valve.
We recommend you read the entry How to Choose a Flexible Water Connector.
5. Check for leaks
Once the Toilet is installed, you will need to do tests to check for leaks.
This procedure may help you:
- Open the water valve.
- Make sure that no water is drawn from the valve connection to the flexible connector or the flexible connector to the Toilet.
- Check that the tank is filled to the extent indicated by the manufacturer.
- Be sure not to filter water through the tank/cup screws.
- Unload the Toilet to check that there is no leak between tank/cup or under the Toilet.
We recommend doing this procedure twice to make sure there is no leak.
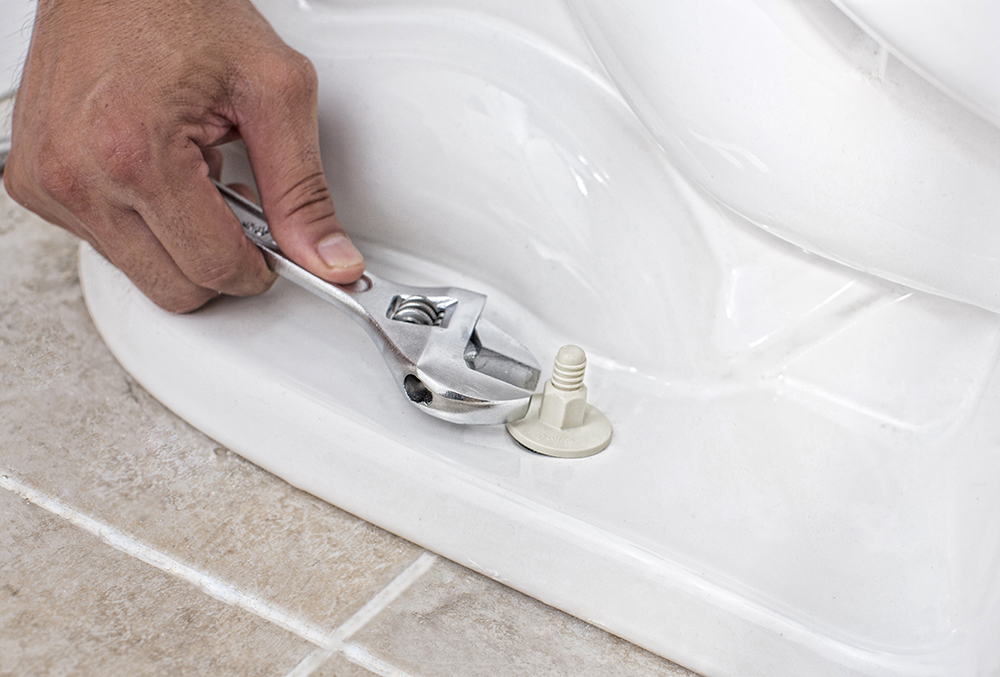
In case your installation has any type of filtration, check that the fittings are correctly adjusted. Take into account not to over tighten because you could cause damage to the ceramic of your Toilet.
Do not forget! Choosing Coflex products will prevent you from working in the future.